Spruce Creek Wheeler Trail Bridge Construction
What does it take to build a bridge on the National Forest?
The process started back in summer of 2020 on a scout on the Spruce Creek Trail with the USFS Trail Crew. They assigned two specific bridge projects to us at FDRD. We took measurements and notes on each specific site. We took photos and got our tape measures out to talk about layout of the new bridge. These measurements were used to make sure we had the material ordered in time for Summer 2021 when construction would start. Flash forward to this summer, we started our plan to replace the first of the bridges on the Spruce Creek/Wheeler Trail. First, we went back out to the bridge site with our technical advisors from the USFS to confirm our measurements and to lay out plans. After accessing the bridge site and confirming measurements, it was time to start drawing out the plan.


This is where we became forest carpenters. The drawings helped us lay out the precise plan on paper and were necessary for creating the material list, ensuring we had all the dimensional lumber needed for construction.

In all, it took four volunteer projects to complete the bridge. Participating partners included Breckenridge Grand Vacations, Breckenridge Mountain Rotary, FDRD board members, and volunteers from the public.


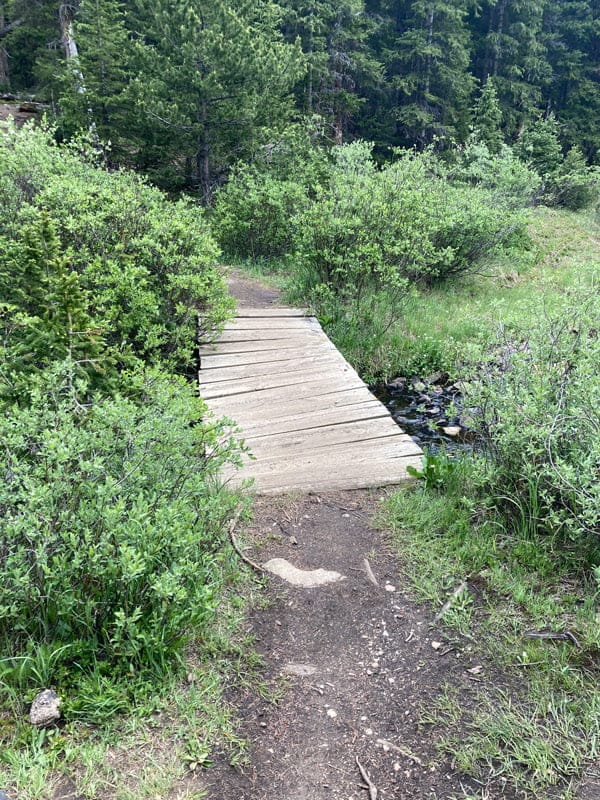
The first projects focused on hauling in the materials for the new, 16 foot bridge. The old bridge with rotting stringers was also deconstructed and hauled out. Since our projects were spread out over a several weeks, we re-routed the trail slightly and installed a temporary bridge, so trail users had a safe way to continue to cross the creek without contributing to more resource damage.


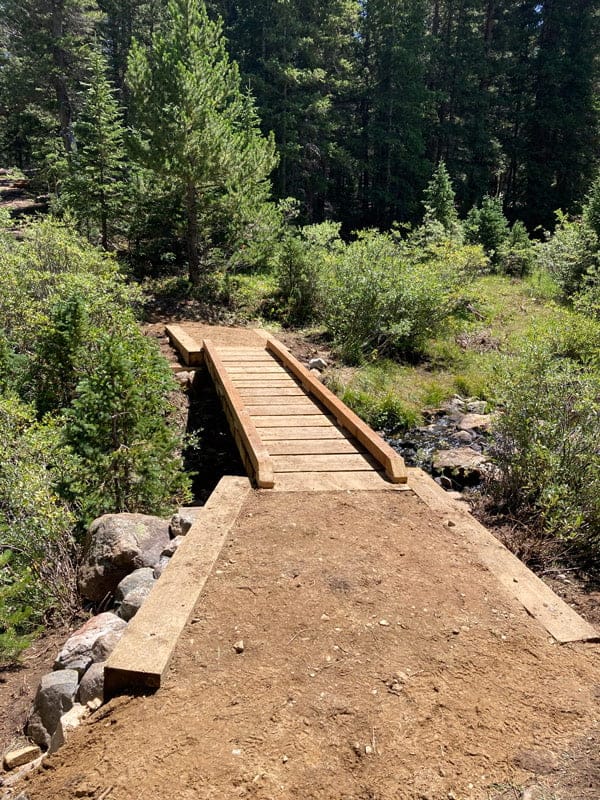
Next, we began to set the sills. The sills are eight inches, by eight inches, by six feet, and sit parallel to the stream crossing on either side of the water. Sills are the foundation of the bridge, so it is very important they are the appropriate distance across from each other, square with each other, and level. They are secured into the ground with rebar. Once those were set in place, we laid across the 16 foot stringers and pounded more rebar in to keep them in place. We also began the process of collecting rock/crush and mineral soil for our approaches.


After the stringers were placed and secured with rebar, next up we installed the decking and bumpers. Decking is placed perpendicular across the length of the stringers to create the bridge surface. Bumpers are secured on the end of each side of the stringers, so the edge is flush and hiking boots won’t get stuck between the stringers. We also constructed a few drainage dips further up the trail, that will direct flowing water off of the trail tread. This will help protect our new structure from erosion!


Last but not least, a bull rail, the railing on the edge of the decking, was constructed and installed. Next, the approaches needed to be filled in. Approaches are small ramps that funnel trail users onto a bridge. We filled our approaches with large rock, smaller rock, and then mineral soil on top.


And there you have it! The finished product will last for many years and provide a sustainable and safe way for hikers, bikers, and maybe even wild animals to cross the stream and stay dry.